Get The Right Supplies, Or You’ll Be… Toast
Cleaning your toaster is an important task that should not be taken lightly. However, without the right supplies, you may find yourself in a sticky situation. To ensure successful and efficient toaster cleaning, it’s crucial to have the appropriate tools on hand. In this section, we will discuss the essential supplies you need to get the toaster upside job done effectively.
Clean, Dry Cloth: Having a clean, dry cloth is essential for wiping down the exterior of your toaster. This cloth or paper towel should be free of any lint or debris to avoid transferring particles onto your appliance.
Mild Dish Soap: Mild dish soap is a versatile cleaning agent that can be used to tackle stubborn stains on the exterior of your toaster. Look for a gentle, non-abrasive soap that will not damage the finish of your appliance.
Warm Water: Warm water is the perfect companion to dish soap. It helps create a soapy solution that can effectively remove grime and grease from the surface of your toaster.
Soft-Bristle Brush or Toothbrush: A soft-bristle brush or toothbrush is an invaluable tool for reaching those hard-to-clean areas of your toaster. It allows you to gently scrub away residue and crumbs from crevices and corners.
Clean, Dry Towel: After cleaning, you’ll need a clean, dry towel to thoroughly dry your toaster. Moisture can be detrimental to the electrical components of your appliance, so make sure to towel-dry it completely.
Small Screwdriver (if applicable): Some toasters have removable parts that may require a small screwdriver for disassembly. If your toaster has such components, ensure you have the appropriate screwdriver size to safely remove and reattach them.
By gathering these supplies before you begin the cleaning process, you can ensure a smooth and successful toaster cleaning experience. Having the right tools at your disposal will make the toaster oven clean process easier and help you achieve the best results without any mishaps.
Unplug the toaster and set up a crumb catcher
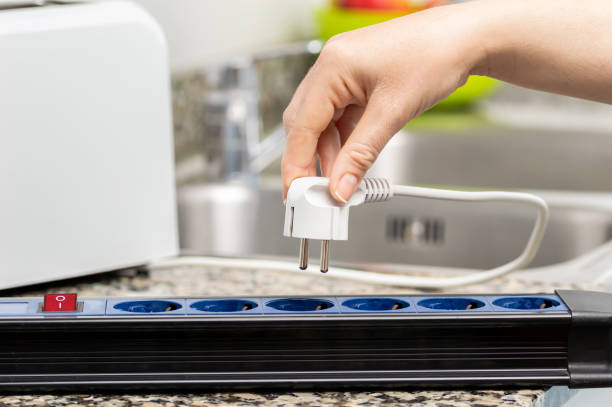
Before diving into the cleaning process, the first step is to ensure the safety of both yourself and your toaster. Start by unplugging the toaster from the power source. This step is crucial to avoid any potential electrical hazards while handling the appliance. Remember, water and electricity do not mix well, so always prioritize safety by disconnecting the toaster from the power outlet.
Once the toaster is unplugged, it’s time to set up a crumb catcher. Most toasters come with a removable crumb tray located at the bottom. Slide out the crumb tray and place it near your workspace. The crumb tray acts as a catcher, preventing crumbs and debris from falling onto your countertop or floor during the cleaning process. By setting up a crumb catcher, you’ll save yourself the hassle of cleaning up scattered crumbs and ensure a more organized and efficient cleaning experience.
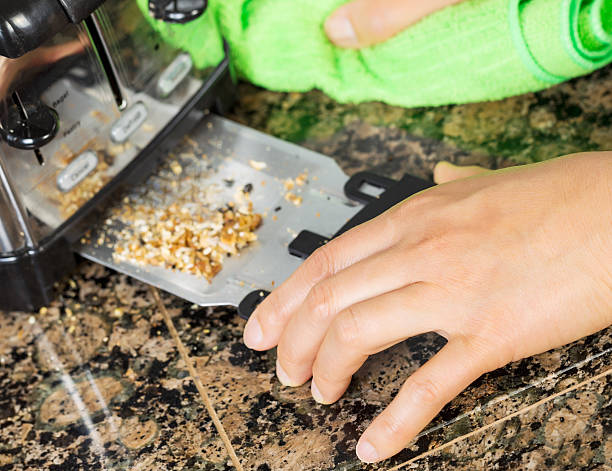
Remove Crumbs
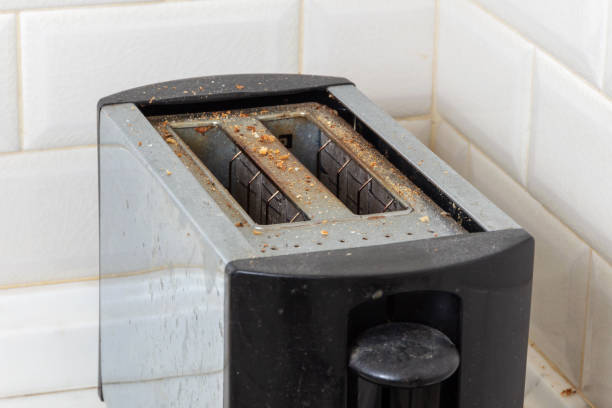
To start the cleaning process, it’s essential to remove any accumulated crumbs from your toaster. Begin by holding the toaster over a sink or trash can and gently shake it to dislodge loose crumbs. You can also tap the sides of the toaster to encourage any stubborn crumbs baked on food within to fall out. Be careful not to shake or tap the toaster too vigorously, as it may cause damage to the internal components.
For more thorough cleaning, use a soft-bristle brush or a toothbrush to reach into the toaster’s slots and corners. Gently brush the interior to dislodge any remaining food particles or crumbs. Pay close attention to the heating elements, making sure not to damage them while removing debris. If necessary, you can also use compressed air or a can of compressed air duster to blow out stubborn crumbs from hard-to-reach areas.
By removing the crumbs from the heating element of your toaster, you not only ensure a cleaner appliance but also prevent potential fire hazards. Crumbs that accumulate near the heating elements can ignite and pose a safety risk. Therefore, regular removal of crumbs is essential for maintaining a safe and functional toaster.
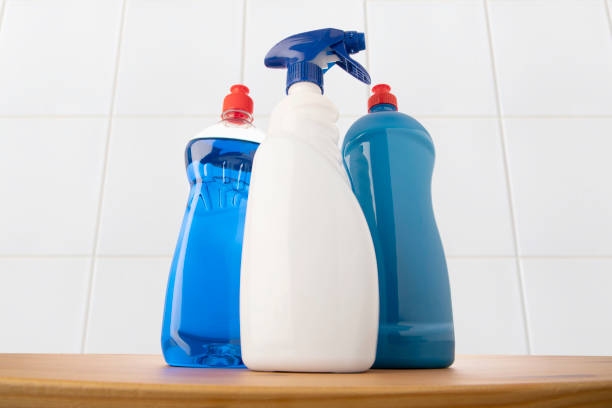
Make a Cleaning Solution
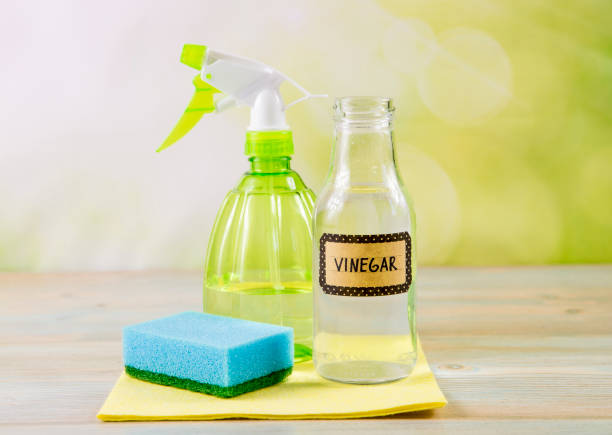
Creating a cleaning solution is a crucial step in effectively cleaning your toaster. A simple yet effective solution can be made using mild dish soap and warm water. Fill a sink or a bowl with warm water and add a small amount of mild dish soap. Mix the solution gently until the soap is dissolved.
The mild dish soap helps break down grease and grime on the exterior of your toaster. It is important to use a mild soap to avoid damaging the finish or surface of your appliance. The warm water helps to enhance the cleaning power of the soap and aids in removing stubborn stains. The combination of these two ingredients forms an effective and safe cleaning solution for your toaster.
Ensure that the solution is well mixed before proceeding with the cleaning process. The cleaning solution will serve as your primary tool for removing stains and dirt from the exterior surfaces of your toaster. With this homemade cleaning solution, you can effectively tackle dirt and grime, leaving your toaster looking sparkling clean and fresh.
How to clean the inside of a toaster
Use a soft-bristle brush or toothbrush: To thoroughly clean the interior of the toaster, use a soft-bristle brush or toothbrush. Carefully brush the walls, corners, and slots of the toaster to remove any remaining crumbs or residue. Be gentle to avoid damaging the heating elements. Pay extra attention to hard-to-reach areas where crumbs tend to accumulate.
Vacuum or use compressed air (optional): For a more thorough cleaning, you can use a vacuum cleaner with a brush attachment or a can of compressed air. This helps to remove finer crumbs and dust particles that may have settled inside the toaster’s exterior well. Hold the vacuum or compressed air nozzle close to the toaster’s slots and surfaces to effectively suction or blow out any remaining debris.
Reinsert the clean crumb tray, and use the toaster
Once you have thoroughly the burnt crumbs, cleaned your toaster and ensured that all components are dry, it’s time to reinsert the clean crumb tray and start enjoying your perfectly toasted treats. Follow these final steps:
Securely reinsert the crumb tray: Take the clean and dry crumb tray and carefully slide it back into its designated slot at the bottom of glass door of the toaster. Make sure it is properly aligned and securely in place. The crumb tray is an essential part of your toaster’s functionality as it collects any crumbs or debris, making future cleaning easier.
Plug in the toaster and test it: Once the crumb tray is in place, plug your toaster back into the power source. Double-check that the power cord is connected securely. Now, it’s time to put your toaster to the test. Place a slice of bread or your preferred item of toasting bread or toast into the appropriate slots. Set the desired toasting settings and activate the toaster. Observe the toasting process to ensure everything is working correctly.
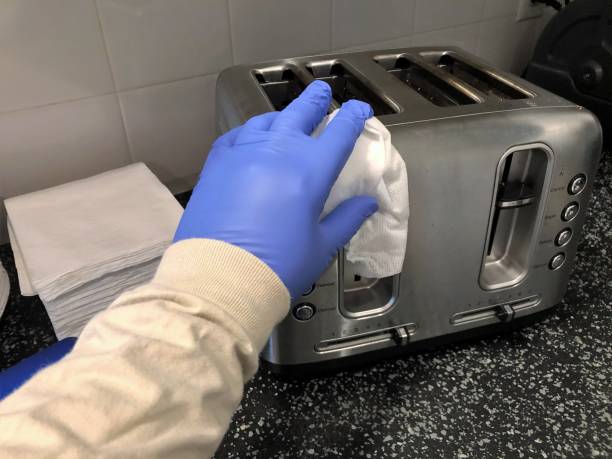
Clean the Outside of the Toaster Oven
To clean the outside of the toaster oven, dip a clean cloth or sponge into the cleaning solution and wring out any excess liquid. Begin by wiping down the top of the toaster oven and work your way down, ensuring to cover areas such as the control panel, knobs, and handles. Use gentle, circular motions to remove any stains or spills. For tougher stains, apply a small amount of the cleaning solution directly to the cloth or sponge and continue wiping until the stain is lifted. By regularly cleaning the outside of your used toaster ovens, you can maintain its cleanliness and keep it looking its best.
How to Clean a Toaster Oven
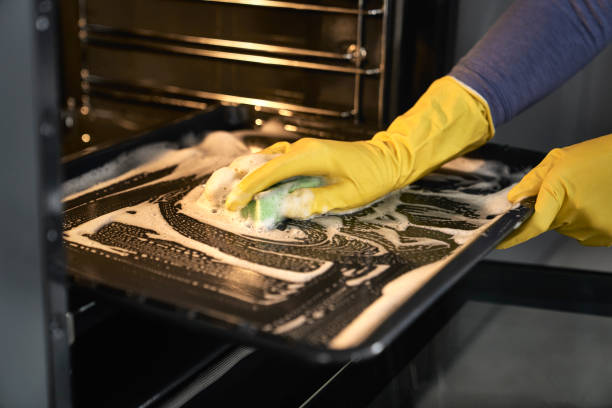
Start by unplugging the toaster oven and allowing it to cool completely. Never attempt to clean a hot appliance as it can cause burns. Once cooled, remove the accessories such as the crumb tray, baking rack, and any other removable parts. Wash these items separately using warm soapy water, or follow the manufacturer’s instructions for cleaning. Set them aside to air dry.
Next, wipe down the interior of the toaster oven using a damp cloth or sponge. For stubborn food stains or grease, create a paste by mixing baking soda and water. Apply the paste to the affected areas and let it sit for a few minutes to loosen the grime. Then, use a non-abrasive sponge or brush to gently scrub the interior, paying special attention to the walls, heating elements, and corners. Once the interior is clean, wipe it down with a damp cloth to remove any residue. Be careful not to wet any electrical components.
Finally, clean the exterior of the toaster oven using a damp cloth and mild dish soap. Wipe away any spills, stains, or fingerprints, and dry thoroughly with a clean cloth. Reassemble the toaster oven by placing all the crumbs and cleaned accessories back in their respective positions. Once everything is dry and reassembled, plug in the toaster oven, and it’s ready to be used for your next delicious meal.