Introduction
Clean air and clean ducts, are essential for maintaining a healthy home environment. Over time, dust, debris, and contaminants can accumulate in your air ducts, affecting indoor air quality and the efficiency of your HVAC system. In this guide, we’ll walk you through the process of cleaning your house’s air ducts, step by step. With the right knowledge and tools, you can ensure your home’s air is clean and fresh.
Understanding the Importance of Air Duct Cleaning
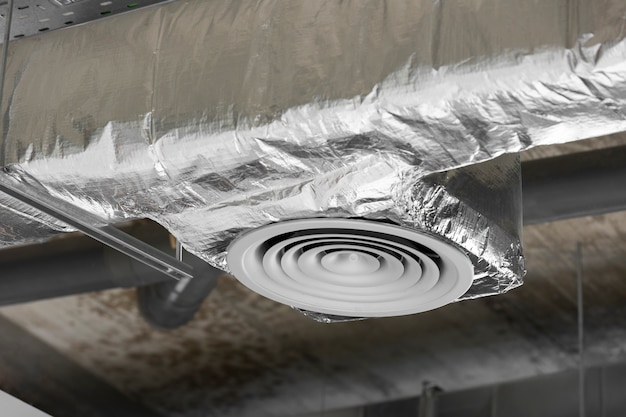
Your home’s air ducts play a vital role in your air conditioner circulating warm and cool air, helping to maintain a comfortable indoor environment. However, these ducts can also collect dust, allergens, and even mold over time, impacting your home’s air quality. Here’s why cleaning your air ducts is crucial:
1. Improved Indoor Air Quality
Clean air ducts help reduce the presence of airborne pollutants in your home. This is especially important if you or your family members suffer from allergies or respiratory issues.
2. Enhanced HVAC System Efficiency
Ducts clogged with dust and debris make your HVAC and cooling system to work harder. Cleaning the ducts can improve efficiency, potentially saving on energy costs.
3. Prolonged HVAC System Lifespan
When your HVAC system doesn’t have to work as hard, it can last longer. Regular cleaning can extend the lifespan of this important home system.
Assessing the Need for Air Duct Cleaning
Before diving into the cleaning process, it’s important to assess whether your air ducts need cleaning. Here are some signs that may indicate it’s time for your supply ducts for a cleaning:
1. Visible Dust and Debris
If you notice a visible layer of dust or debris in your ducts or around the vents, it’s a clear indicator that cleaning your duct system is necessary.
2. Reduced Airflow
A sudden decrease in the airflow from your air vents, can indicate blockages in the ducts.
3. Allergies and Respiratory Issues
If family members experience an increase in allergies or respiratory symptoms while at home, it could be due to poor indoor air quality.
4. Mold Growth
Mold in or around the air ducts is a serious concern. If you see any signs of mold or dirty air ducts, it’s important to address it promptly.
Step-by-Step Guide to Cleaning Air Ducts
Step 1: Gather the Necessary Tools and Equipment
Cleaning your air ducts requires some specific tools and equipment. Here’s what you’ll need:
- Vacuum cleaner with a hose and brush attachment
- Screwdriver
- Replacement air filter
- Microfiber cloths
- Cleaning solution (water and mild detergent)
- A ladder
Step 2: Turn Off the HVAC System
Before you start, it’s crucial to turn off your HVAC system to ensure your safety and prevent debris from circulating in the ducts.
Step 3: Remove and Clean Vent Covers
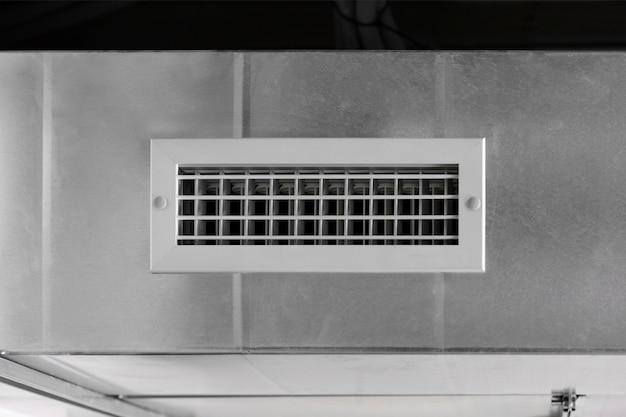
Using a screwdriver, remove the vent covers. These are often held in place with screws. Once vent cover are removed, clean them with a microfiber cloth and the cleaning solution.
Step 4: Clean the Supply Vents
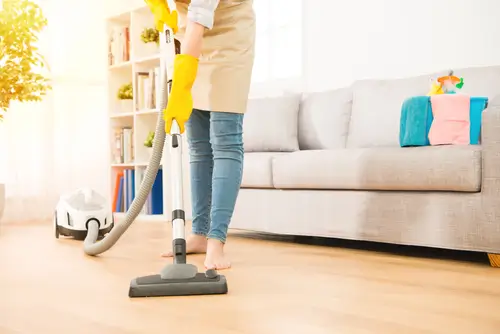
Insert the vacuum hose and brush attachment of your vacuum cleaner into the supply vents. Use a circular motion to dislodge and remove dust and debris. Clean the vents as thoroughly as possible.
Step 5: Inspect the Ducts
Using a flashlight, inspect the interior of the ducts. If you notice mold growth or heavy debris in supply duct itself, it may be time to call a professional air duct cleaning service.
Step 6: Replace the Air Filter
Install a new air filter in your HVAC system. This helps maintain air quality in heating and cooling system and prevents debris from entering the ducts.
Step 7: Clean the Return Air Registers
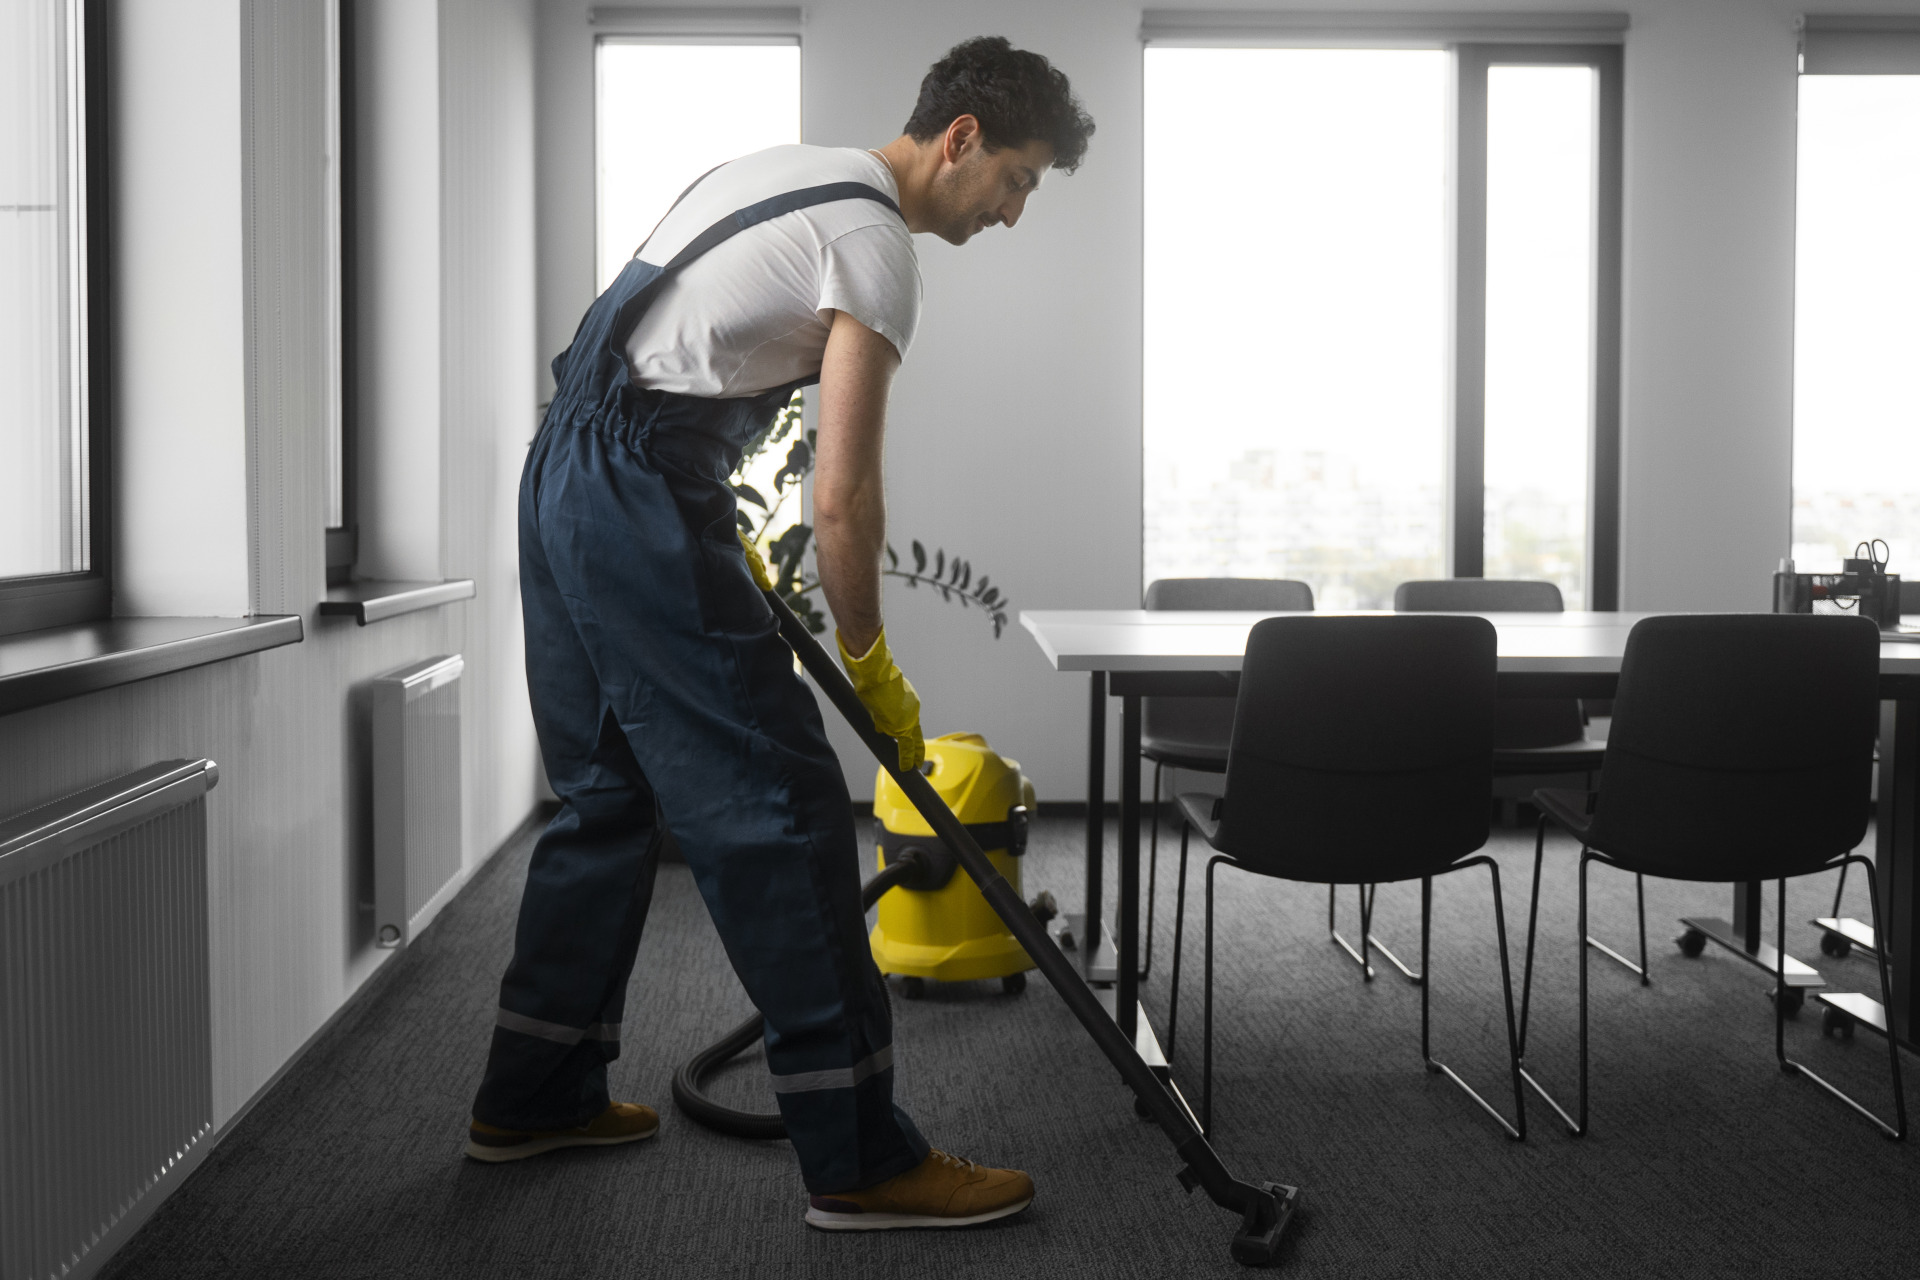
Similar to the back supply vent vents, clean the return air registers with your vacuum cleaner.
Step 8: Wipe Clean
Use microfiber cloths or paper towels and a mixture of water and mild detergent to wipe clean the visible parts of the ductwork, including the area around the vents.
Step 9: Turn On the HVAC System
Once you’ve completed the cleaning, turn your HVAC system back on. Enjoy cleaner, fresher air in your home.
DIY vs. Professional Air Duct Cleaning
While the steps outlined above are suitable for routine maintenance, some situations may require professional air duct cleaning. Consider the following factors when deciding between DIY and professional service for diy duct cleaning:
- Severity of Contamination: If you discover mold or significant dust buildup, it’s best to call professionals.
- Access to Equipment: Professionals have specialized equipment for deep cleaning.
- Health Concerns: If you or your family members have respiratory issues, professional cleaning may be a safer option.
Maintaining Clean Air Ducts
Regular maintenance is key to keeping your air ducts clean. Change your air filter regularly, clean your air ducts, and consider professional cleaning every few years, especially if you live in a dusty or humid environment.
By using air duct covers by following these steps, you can ensure that your home’s air ducts remain clean, promoting better indoor air quality and a more efficient HVAC system.
Incorporating air duct cleaning into your home maintenance routine is a proactive step toward a healthier living environment.
Conclusion
Clean air ducts are a fundamental part of a healthy home. By understanding their importance and following our step-by-step guide, you can maintain clean and efficient air ducts. Whether you opt for a DIY approach or professional air duct cleaning services, the result will be fresher air and a more comfortable living space. Prioritize air duct cleaning to create a healthier home environment for you and your loved ones.

