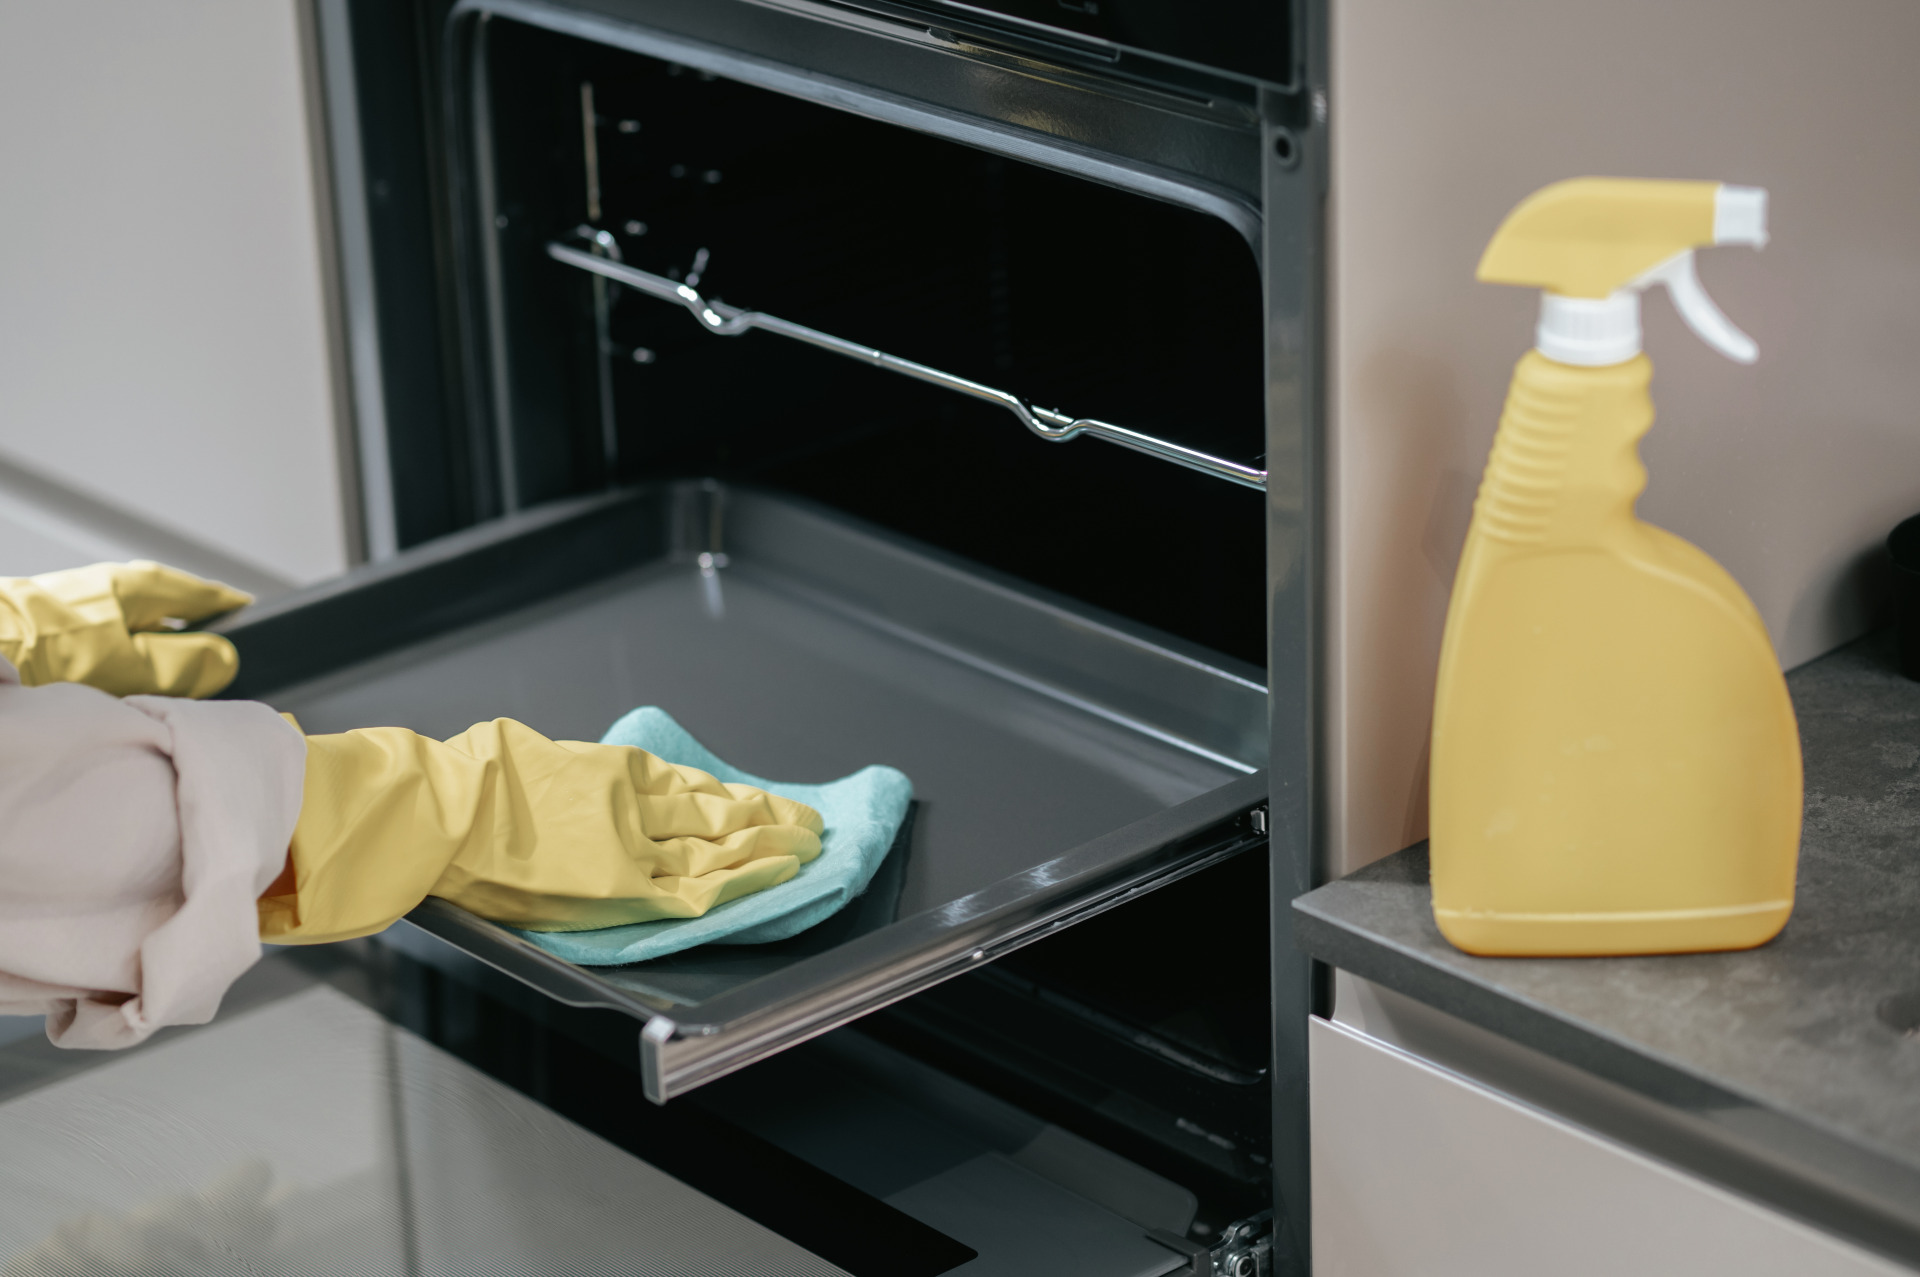
Tackle the germs and mineral build-up you almost always miss on chore day with these easy steps
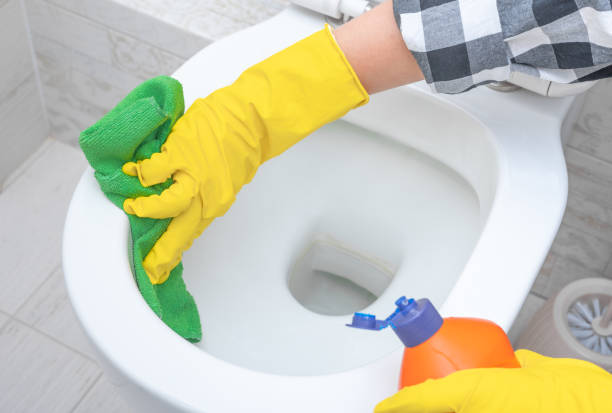
Cleaning our homes can sometimes leave behind areas that harbor germs and mineral build-up, even on dedicated chore days. However, with a few simple steps, you can address these commonly overlooked areas and ensure a more comprehensive cleaning routine.
To tackle germs effectively, start by sanitizing surfaces using a disinfectant spray or wipes. Pay close attention to frequently touched areas, such as handles, buttons, and knobs, to eliminate bacteria and reduce the risk of cross-contamination. Allow the disinfectant to sit for the recommended time, ensuring its full effectiveness, before wiping it off with a clean cloth. This step will help create a healthier environment in your kitchen and other areas of your home.
Mineral build-up can be a common issue, especially in areas exposed to hard water. To combat this problem, create a mixture of equal parts white vinegar and water in a spray bottle. Apply the solution to surfaces affected by mineral deposits, such as faucets, sinks, or the interior of appliances like kettles or coffee makers. Let it sit for a few minutes to dissolve the build-up, then gently scrub the surface with a soft brush or sponge. Rinse thoroughly with water and wipe dry to restore the shine and cleanliness of your appliances. By addressing mineral build-up, you can enhance the performance and longevity of these items.
By incorporating these easy steps into your cleaning routine, you can effectively tackle the germs, mold and mineral build-up that often go unnoticed on chore days. This extra attention to detail will help create a cleaner and healthier living environment for you and your family.
Using Vinegar to Clean the Toilet Tank
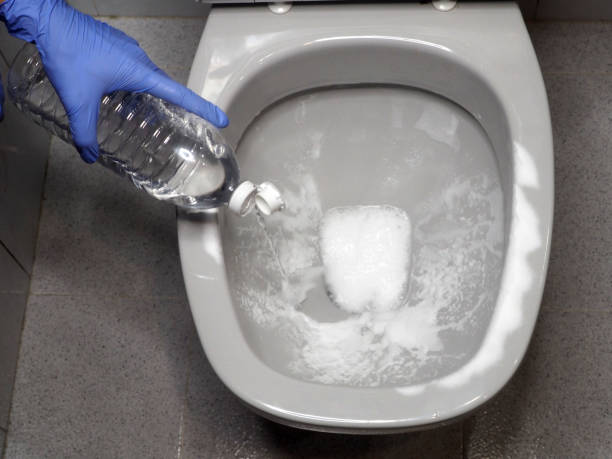
To start, gather the necessary supplies: distilled white vinegar, a toilet brush, and a scrub brush. First, flush the toilet to lower the water level in the tank. Then, pour a generous amount of vinegar into the tank, ensuring that the float valve, drain, and other mechanisms are submerged in the vinegar solution. Allow the vinegar to sit in the tank for at least 30 minutes to an hour. Vinegar is known for its natural cleaning properties, including its ability to dissolve mineral deposits and remove stains.
After the vinegar has had time to work its magic, use the toilet brush to scrub the sides of the tank. Pay attention to any stubborn stains or build-up. For hard-to-reach areas or corners, use a scrub brush to ensure a thorough clean. Once you have scrubbed the bottom clean a toilet tank, flush the toilet multiple times to rinse away the vinegar and any loosened debris. The vinegar will not only clean the tank but also help eliminate any unpleasant odors. Regularly cleaning the toilet tank with vinegar will keep it fresh and free from mineral deposits, contributing to a cleaner and more hygienic bathroom.
Use a long scrub brush
When it comes to cleaning the toilet, a long scrub brush can be an invaluable tool. The extended handle allows you to reach deep into the bowl and under the rim, ensuring a thorough clean. The bristles on the brush are designed to provide effective scrubbing power, helping to remove stubborn stains, mineral deposits, and bacteria. With a long scrub brush, you can easily maneuver around the entire toilet bowl, reaching every nook and cranny for a sparkling clean result. Remember to use the brush exclusively for toilet cleaning and sanitize it afterward to maintain hygiene. Incorporating a long scrub brush into your toilet cleaning routine will help you achieve a more thorough and efficient clean while keeping your toilet fresh and sanitized.
Clean the metal parts
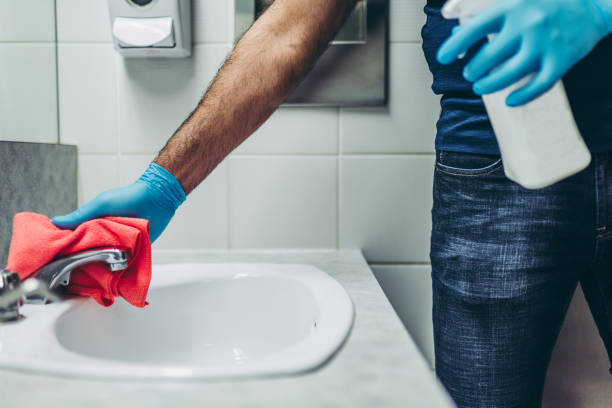
Start by shutting off the water supply to the toilet tank. Look for the valve near the base of the toilet and turn it clockwise until it stops the water flow empty the tank. Once the water is off, remove the tank lid and inspect the metal parts for any visible build-up. For mineral deposits or rust stains, create a paste by mixing baking soda and vinegar. Apply the paste to the affected areas and let it sit for a few minutes to break down the deposits. Then, use a soft-bristle brush or a toothbrush to gently scrub the metal parts, paying attention to hard-to-reach spots. Rinse thoroughly with water and wipe dry with a clean cloth. This process will help restore the shine and functionality of the metal components.
In addition to how to clean toilet tank and cleaning, it’s important to inspect the metal parts for any signs of damage or wear. Check for cracks, leaks, or corrosion, as these issues may require professional assistance or replacement. Regular cleaning and maintenance of the metal parts will not only keep your toilet tank looking clean but also ensure optimal performance and prevent potential issues in the long run.
Tips to Keep a Toilet Tank Clean Longer
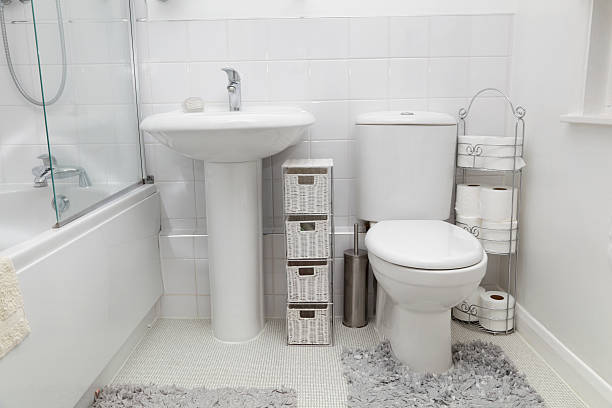
Maintaining a clean toilet tank not only enhances the overall cleanliness of your bathroom but also helps prevent the buildup of stains, mineral deposits, and bacteria. Here are some tips to keep your toilet tank clean for longer periods:
- Regular cleaning routine: Incorporate regular cleaning of the toilet tank into your overall bathroom cleaning routine. This includes cleaning the exterior, interior, and metal parts. By consistently keeping the tank clean, you can prevent the accumulation of dirt and grime that can lead to stubborn stains and odors.
- Use tank tablets or cleaners: Consider using tank tablets or cleaning solutions specifically designed for toilet tanks. These products are formulated to help prevent the growth of bacteria and mineral deposits. Follow the manufacturer’s instructions for proper usage and dosage. Tank tablets can help maintain a clean and fresh-smelling toilet tank between regular cleaning sessions.
Additionally, practicing good toilet hygiene, such as avoiding excessive use of harsh chemicals and promptly addressing any leaks or issues, can contribute to keeping your toilet tank clean for longer periods. By implementing these tips, you can enjoy a cleaner and more hygienic toilet tank, ensuring a more pleasant bathroom experience.
Purchase toilet tank cleaners
Choose the right product: Look for toilet tank cleaners that are specifically labeled for use in the tank. These cleaners are designed to be safe for the toilet components and effective in removing stubborn stains and preventing the growth of bacteria in dirty tanks. Consider options that offer additional benefits, such as deodorizing properties or anti-limescale formulas if you have hard water in your area. Read the instructions and warnings carefully before purchasing and using the product to ensure it is suitable for your toilet and meets your specific needs.
Follow the instructions: Once you have purchased a toilet tank cleaner, it’s important to use it correctly to achieve the desired results. Follow the instructions provided by the manufacturer for dosage, application, and contact time. Typically, you will need to pour the cleaner into the toilet and fill the tank first, allowing it to circulate and work its magic. Be sure to avoid flushing the toilet immediately after adding the cleaner to give it enough time to effectively clean and disinfect the tank. Regular use of toilet tank cleaners can help maintain a clean and fresh-smelling tank, reducing the need for frequent deep cleanings and promoting overall hygiene.
By purchasing and using toilet tank cleaners, you can take an extra step in keeping your toilet tank clean, fresh, and free from stains and bacteria. Always remember to handle and store these toilet’s tank cleaners as per the manufacturer’s instructions and keep them out of reach of children and pets.
Homemade Disinfecting Cleaner
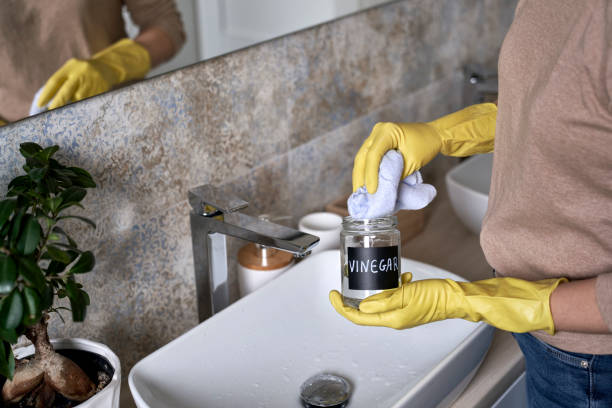
Mix equal parts of distilled white vinegar and water in a spray bottle. Vinegar is known for its natural disinfecting properties and can help break down mineral deposits and remove stains. Spray the mixture directly into the toilet tank, ensuring to cover the surfaces, including the walls and hard-to-reach areas. Let the solution sit in the tank for at least 15 to 20 minutes, allowing it to work on breaking down any build-up. Afterward, use a toilet brush to scrub the tank, paying special attention to any stubborn stains or areas of concern. Finally, flush the toilet multiple times to rinse out the vinegar solution and any loosened debris.
Using homemade disinfecting cleaners can be a cost-effective and eco-friendly option for cleaning your toilet tank. However, it’s essential to note that vinegar may not be suitable for all types of toilets, especially those with delicate surfaces or components. If you are unsure, it’s best to check with the manufacturer’s guidelines or consult a professional cleaner.

