Is your microwave in need of a little TLC? Don’t worry, we’ve got you covered.
In this guide, we’ll walk you through the process of cleaning a dirty microwave step by step.
From dealing with stuck-on food to banishing unpleasant odors, our detailed instructions will help you restore your microwave to its former sparkling glory.
Introduction
Microwaves are indispensable kitchen appliances that make our lives easier by quickly heating up meals.
However, they also tend to accumulate food splatters and stains over time.
A dirty microwave not only looks unsightly but can also affect the taste and smell of your food.
Regular maintenance is the key to keeping your microwave clean and odor-free.
Gathering Your Supplies
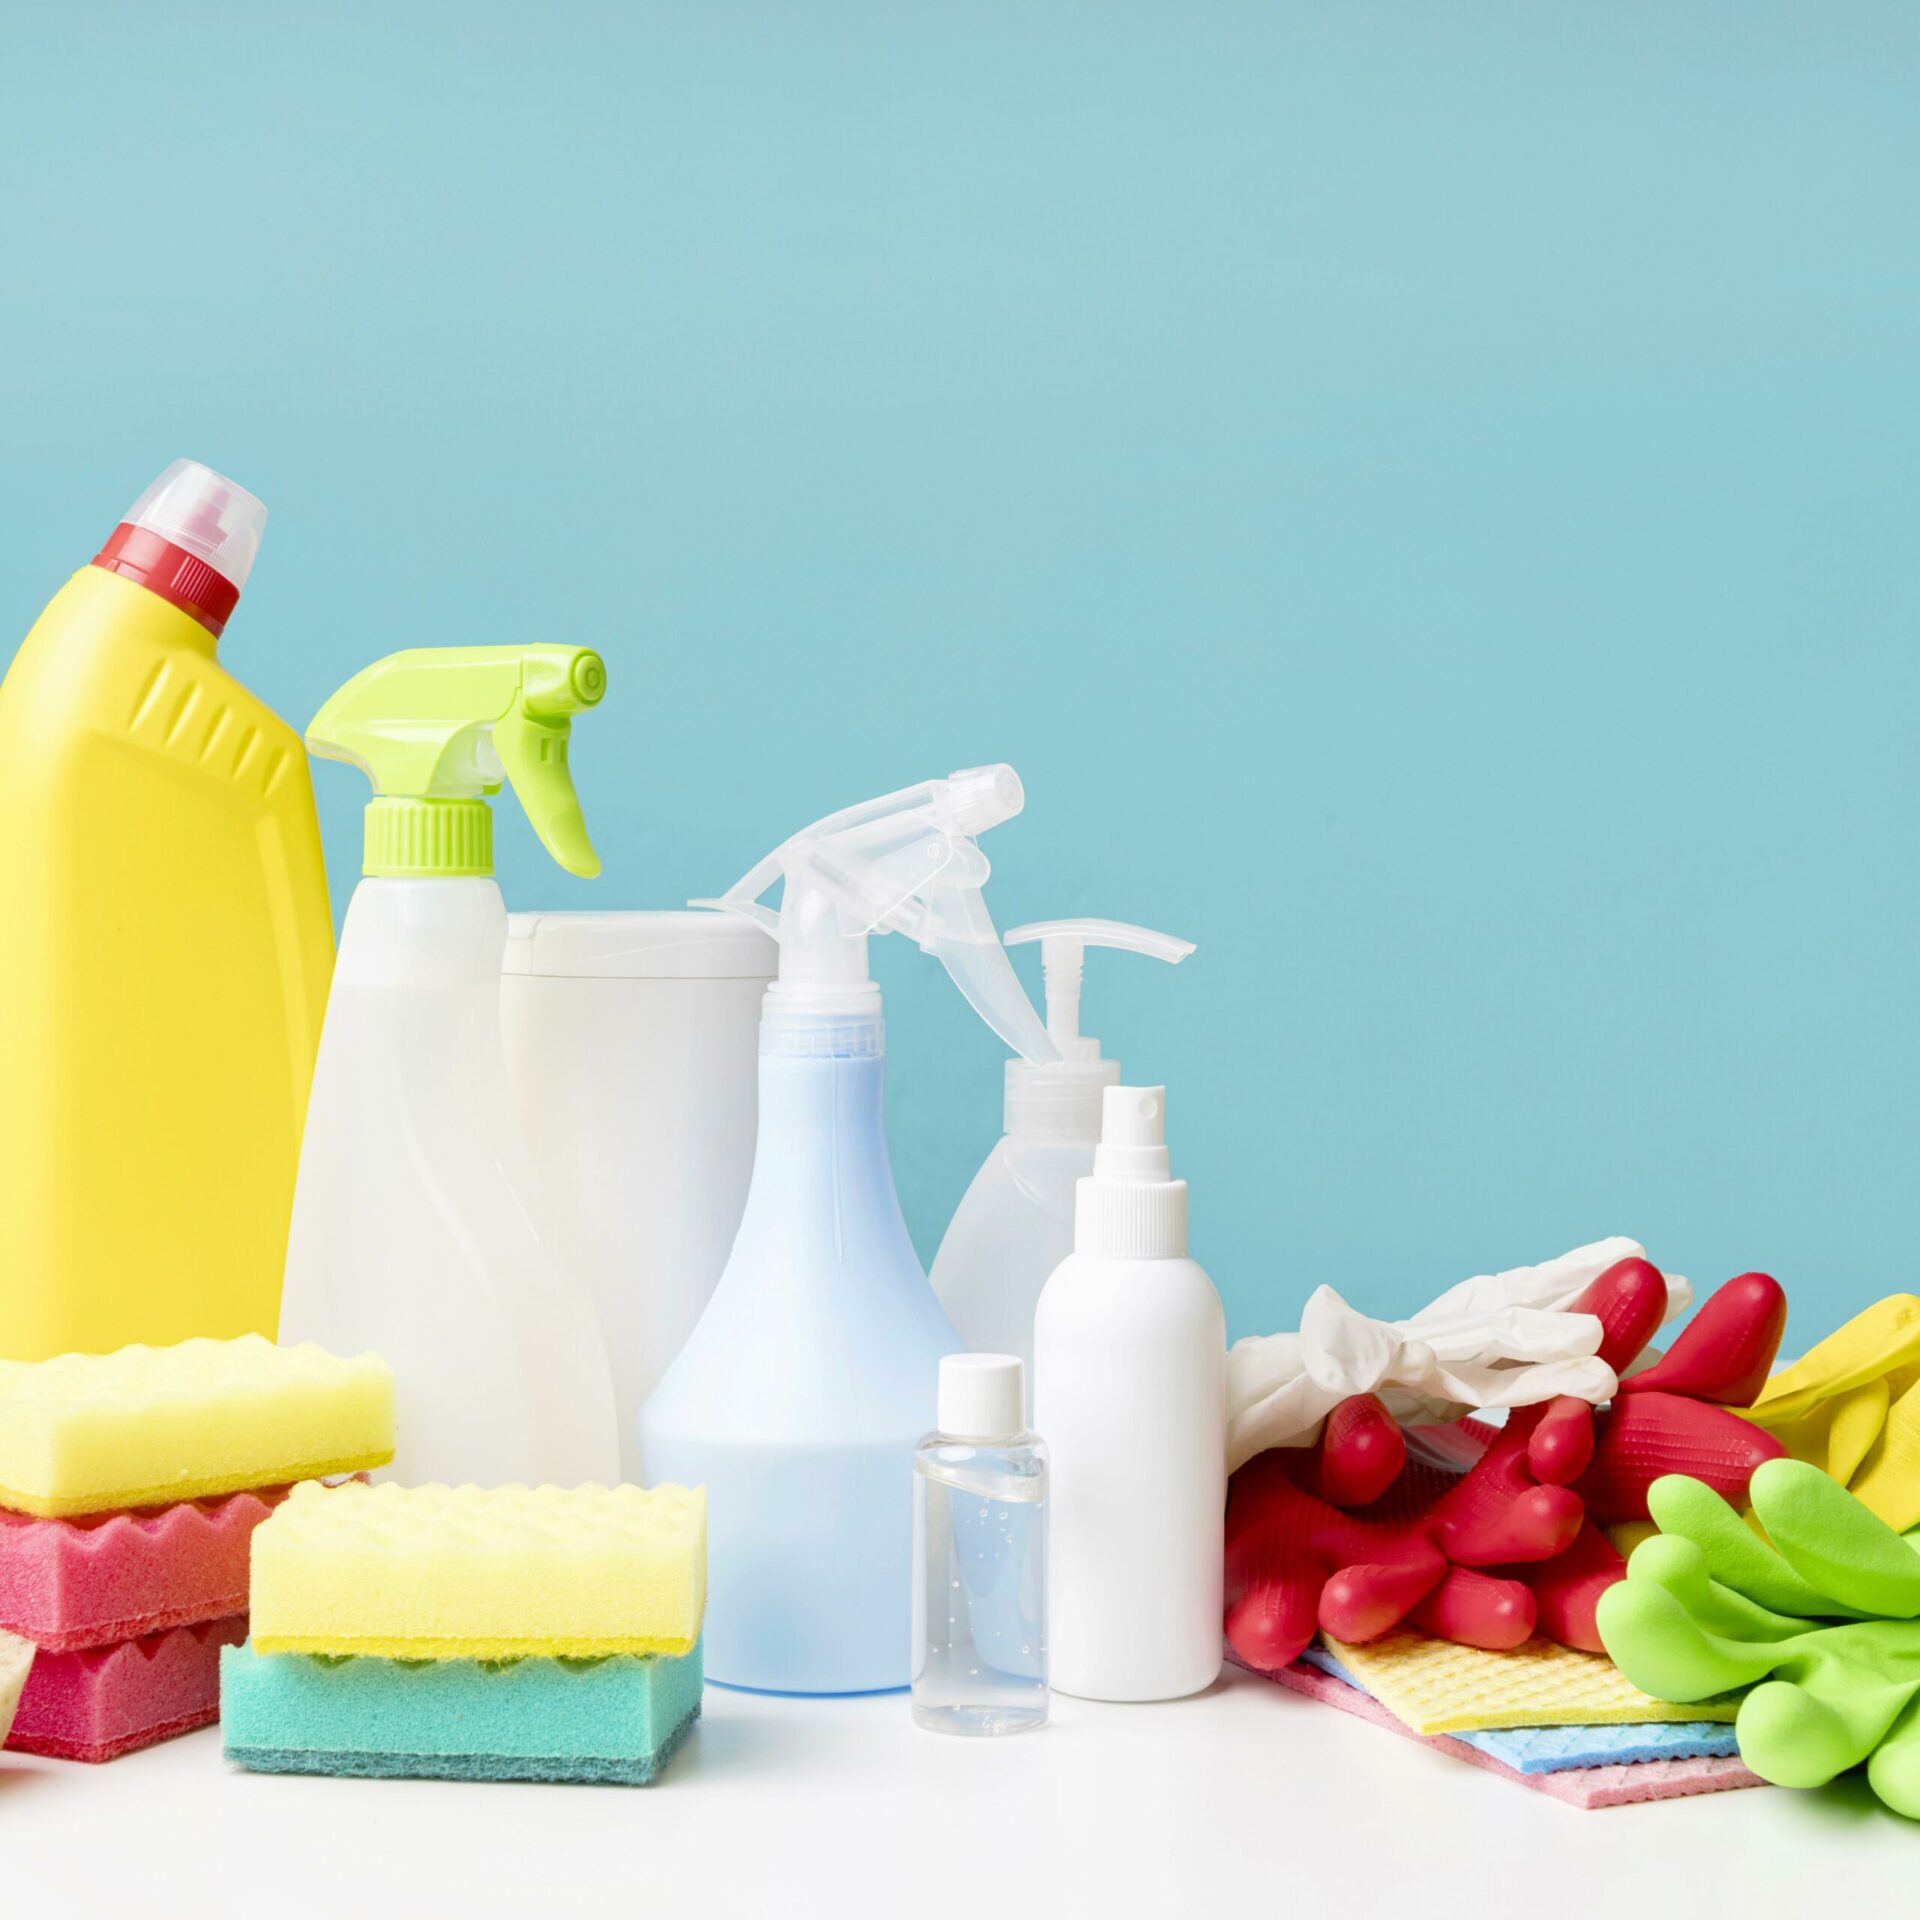
Before we dive into the cleaning process, let’s gather the materials you’ll need:
- Dish soap or microwave-safe cleaner
- Water
- White vinegar
- Lemon (optional)
- Microwave-safe bowl
- Soft cloth or sponge
- Toothpick or cotton swab
- Dry towel
Step 1: Preparing the Cleaning Solution

Begin by mixing a solution of equal parts water and white vinegar in a microwave-safe bowl.
This powerful concoction will help cut through grease and grime with ease.
If you prefer a fresher scent, consider adding a some vinegar and water few drops of lemon juice to the mixture.
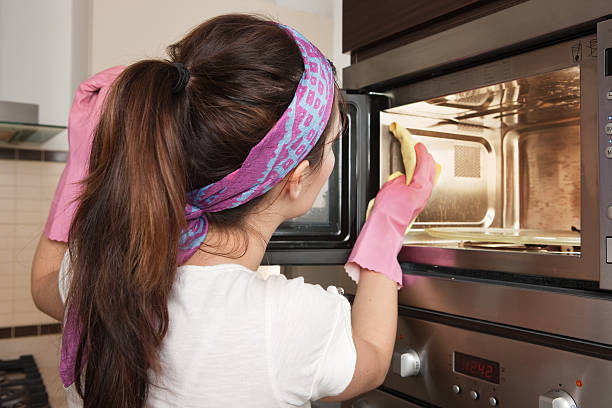
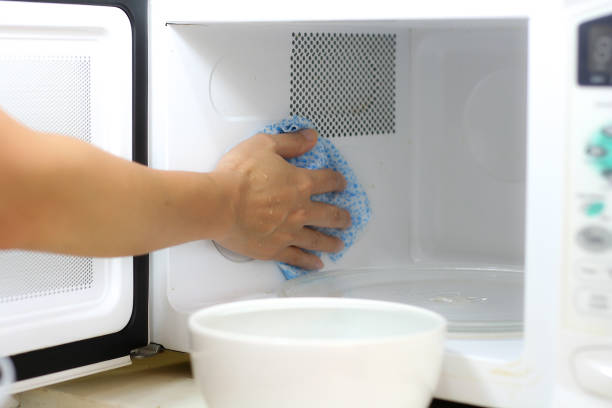
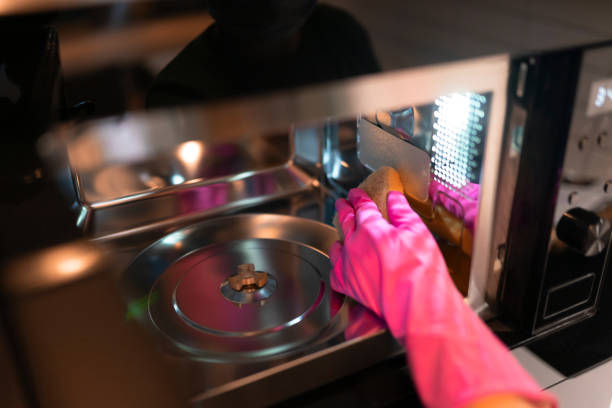
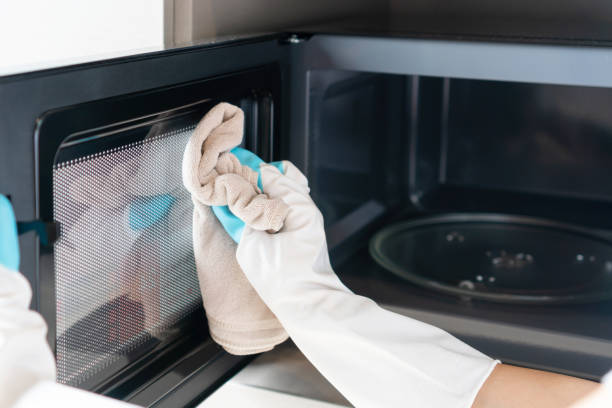
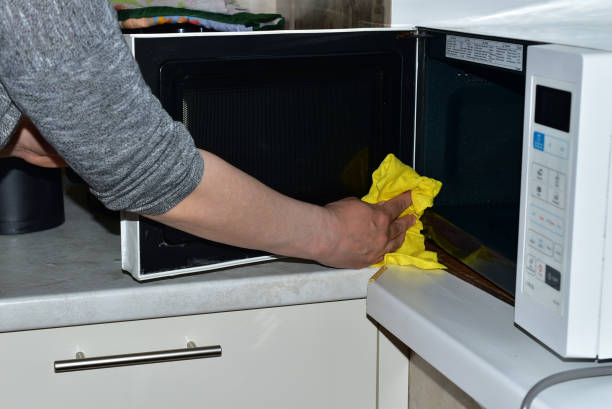
Step 2: Wiping Down the Interior
Unplug the Microwave:
Safety first! Make sure your microwave is unplugged before you start the cleaning process.
Removing Removable Parts:
Take out the turntable and any other removable parts from the inside of a microwave.
Damp Cloth Application:
Dip a soft cloth or sponge into the prepared cleaning solution. Wring out excess liquid and wipe down the interior of the microwave. Pay extra attention to scrub any areas with stubborn food stains or residue. For those pesky stains, allow the damp cloth to sit on them for a few minutes before gently scrubbing.
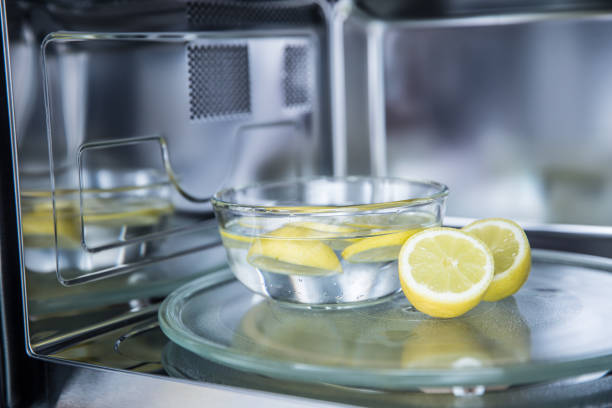
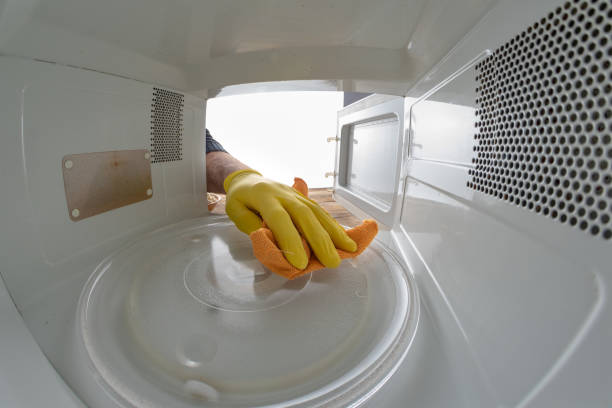
Step 3: Tackling Tough Stains and Odors
Lingering Odors:
If your microwave has been holding onto lingering odors, place a microwave-safe bowl with warm water, and a few slices of lemon inside. Microwave the bowl on high for 2-3 minutes until steam accumulates on the walls. Carefully remove the bowl and use a dry towel to wipe away any condensation and remaining dirt.
Stuck-on Food:
For those stubborn, stuck-on food particles, a toothpick or cotton swab will become your best friend. Use them to clean the small crevices and corners of the microwave door turntable support and microwave interior.
Step 4: Cleaning the Exterior
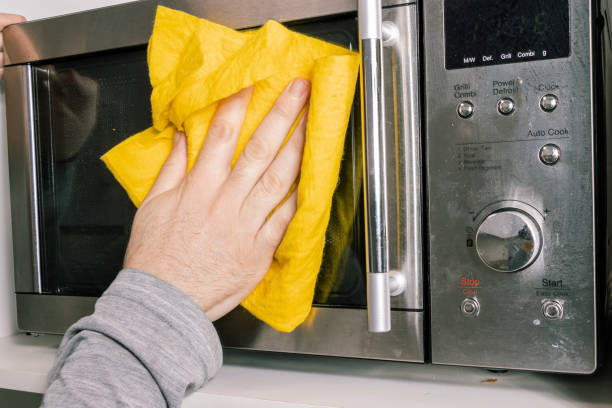
Damp Cloth Application:
Dampen a clean cloth with the cleaning solution and wipe down the exterior of the microwave. Don’t forget to clean the control panel, handle, and any other exposed surfaces.
Dry the Exterior:
After wiping cup water off, use a dry cloth to prevent water spots and streaks on the exterior surfaces.
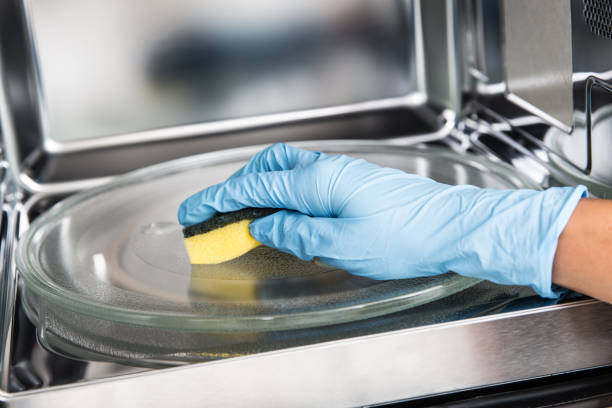
Step 5: Putting Everything Back Together
Removable Parts:
Wash the turntable and any other removable parts in the kitchen sink using warm, soapy water.
Reassembling:
Once everything is clean and dry, reassemble the microwave by placing the cleaned microwave turntable top and removable parts back inside.
Step 6: The Final Touches
Plug in and Test:
Plug in your microwave and ensure it’s functioning properly before using it to heat up your next meal.
Admire Your Work:
Step back and admire your sparkling clean microwave! Regular cleaning will help maintain its pristine appearance and ensure a hygienic cooking environment.
Maintenance Tips for a Spotless Microwave
- Cover your food with microwave-safe lids or paper towels to prevent splatters.
- Wipe down the microwave after each use to prevent residue buildup.
- Avoid using abrasive cleaners or scrubbers that could damage the microwave’s interior.
With this step-by-step guide, cleaning your dirty microwave becomes a surprisingly easy task. You don’t need magic to clean your microwave and get rid of those stubborn stains—just a little bit of time and effort.
Remember, a clean microwave is just one part of maintaining a clean kitchen. For more expert tips on household cleaning and maintenance, explore our other informative blog posts on Brabos Cleaning.
Conclusion
Cleaning a dirty microwave doesn’t have to be a daunting task.
With a few simple ingredients and a little elbow grease, you can restore your microwave to its pristine condition.
Regular maintenance will not only keep your microwave looking clean but also ensure a healthier cooking environment.
So, roll up your sleeves and give your microwave the cleaning it deserves!
Contact Brabos Cleaning today to schedule a professional cleaning session!


